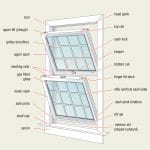
Smarter single hung and double hung windows are designed for easy cleaning by tilting the sashes inward so the outside of the window can be cleaned from the inside.
To tilt a window in for cleaning
first unlock the security locks on the sash. Each window comes with two tilt latches on each operating sash.
Raise the bottom sash about three inches.
Using both hands, disengage the tilt latches on both sides simultaneously.
While holding the latches with your thumbs, gently pull the top of the sash toward you until the latches are clear of the frame.
Holding the top of the sash, continue to lower it until you pass 90 degrees. This will lock the balance shoes in place.
To tilt the top sash (on the double hung), lower the sash about three inches and follow the same procedures.
To return either sash to its operating position, swing the sash back up and push the top of the sash gently until the tilt latches snap back in the side jambs.
If you have a Picture, Casement or Awning Window you can still re-glaze the glass in field even though the window will be in the vertical, installed position.
Start by removing the screws from keeper.
Once glass is re-glazed, reapply keeper.
How to de-glaze (remove old glass):
Begin with sash on a flat surface with the glazing bead facing upward. (Ignore this step if you have a Picture, Casement or Awning window)
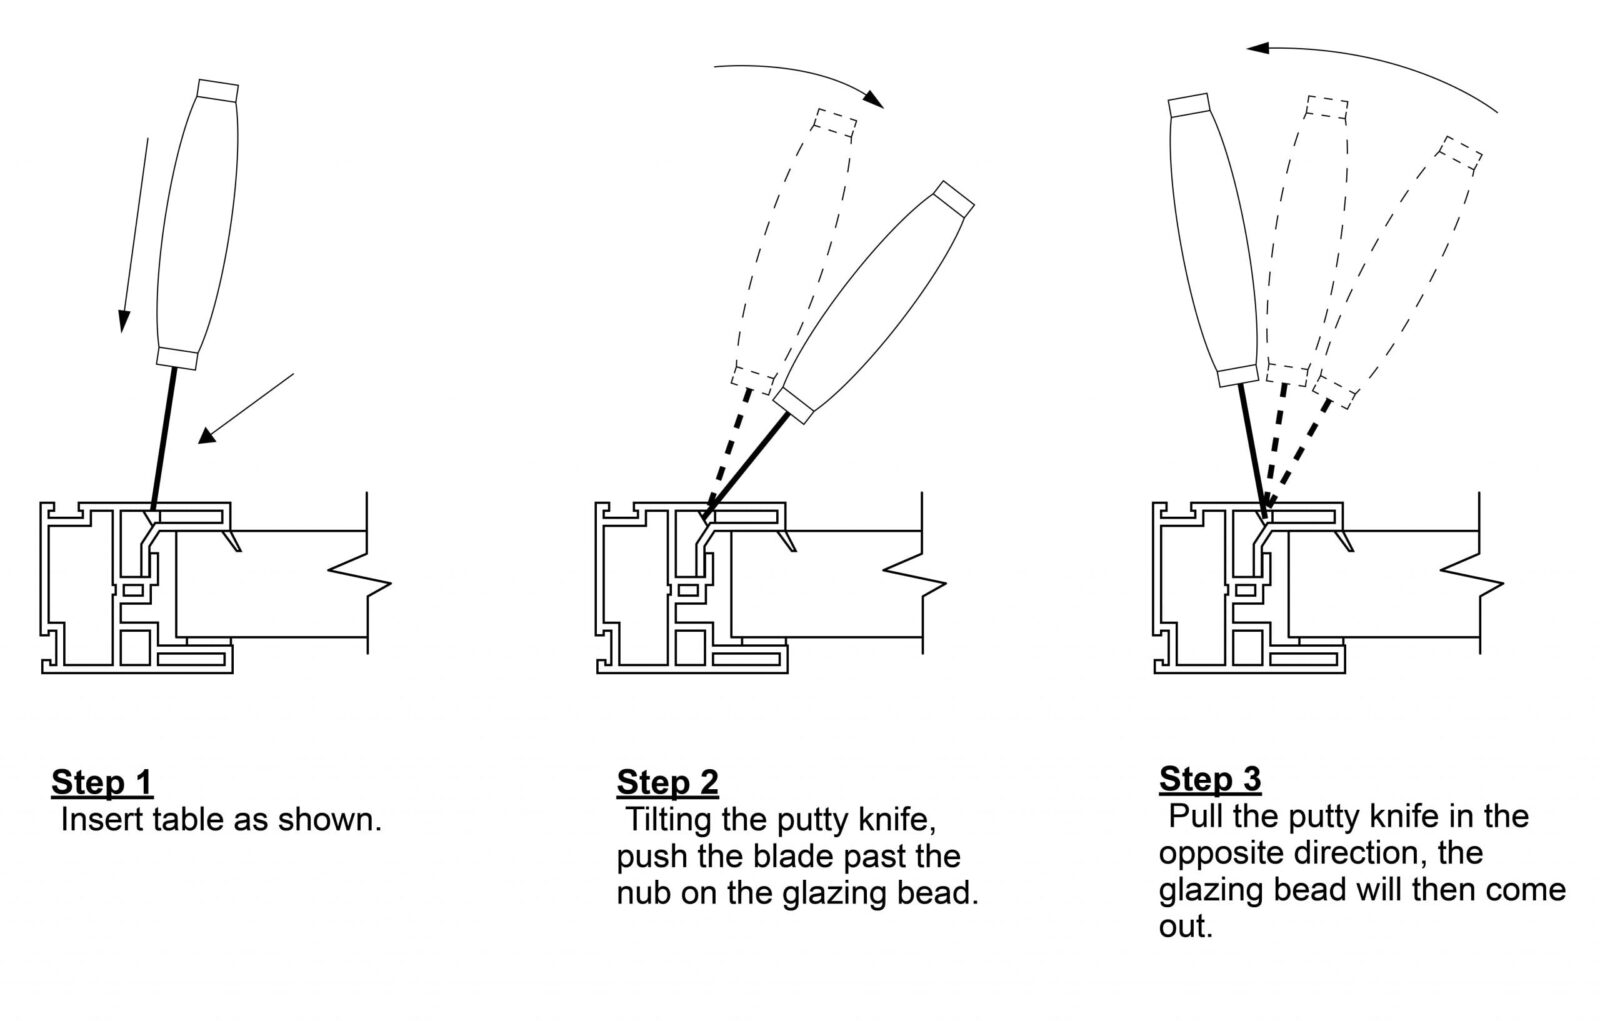
Start by removing the glazing bead. (Refer to Drawing 1)
Turn the sash over, use a sharp blade working the blade between the sash profile and glass. Use the blade to cut the glazing material away from the sash and the glass. With the blade between the glass and sash, move the blade around the entire perimeter of the sash.
Once the glass has been cut away from the seal, remove the sash.
Use lacquer thinner or turpentine to remove any remaining glazing tape or silicone from sash.
How to re-glass (install new glass):
Once glazing area is completely clear of adhesive, apply new glazing tape or silicone bead to the center of the glazing area.
Also run a diagonal bead of silicone down each corner of glazing area.
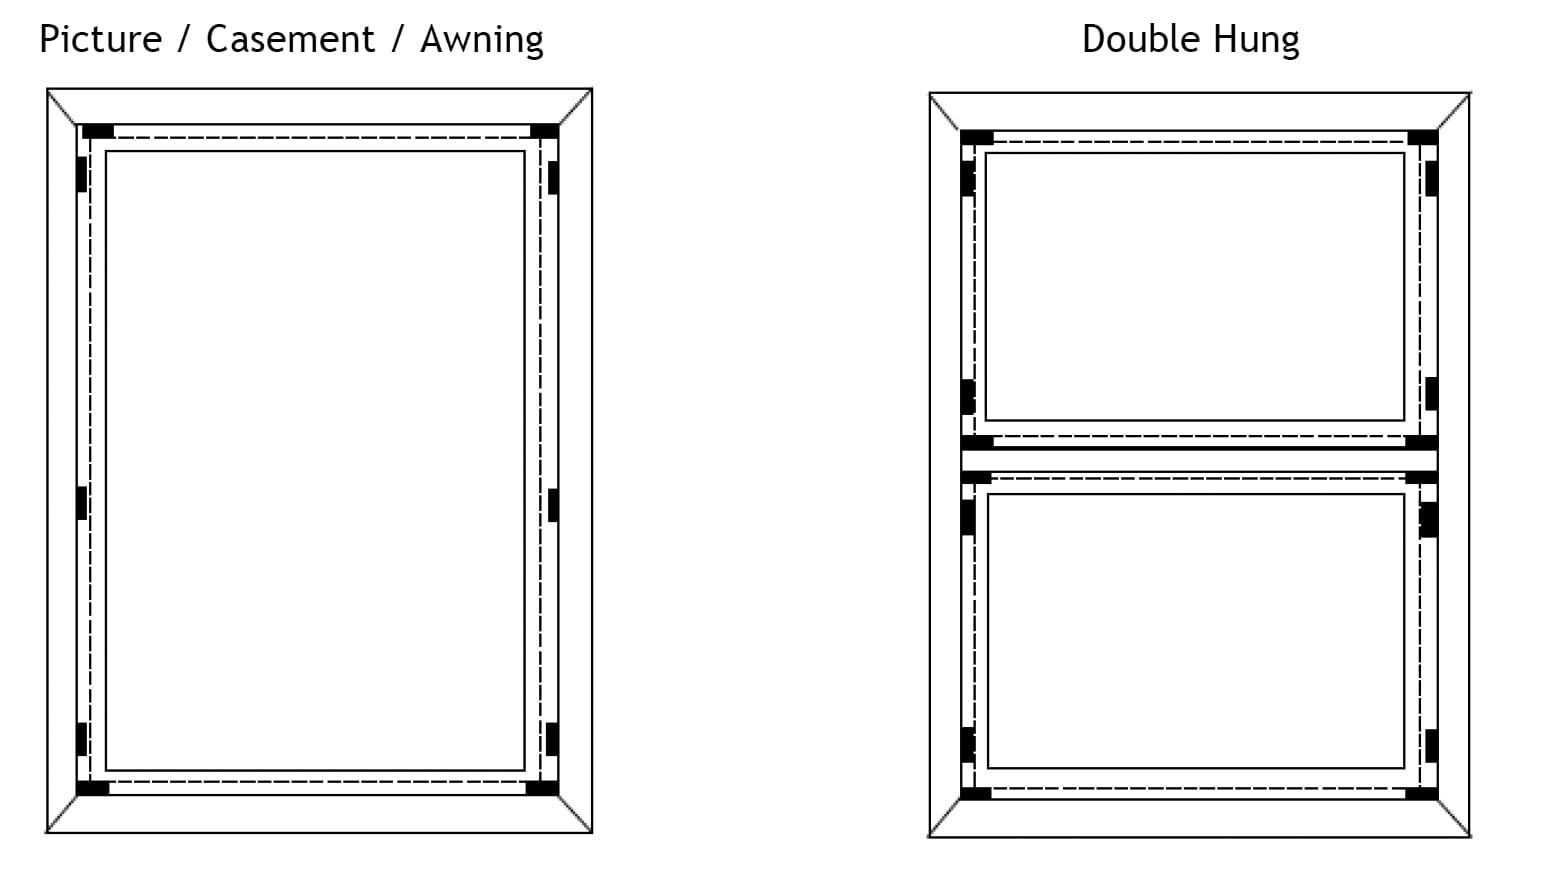
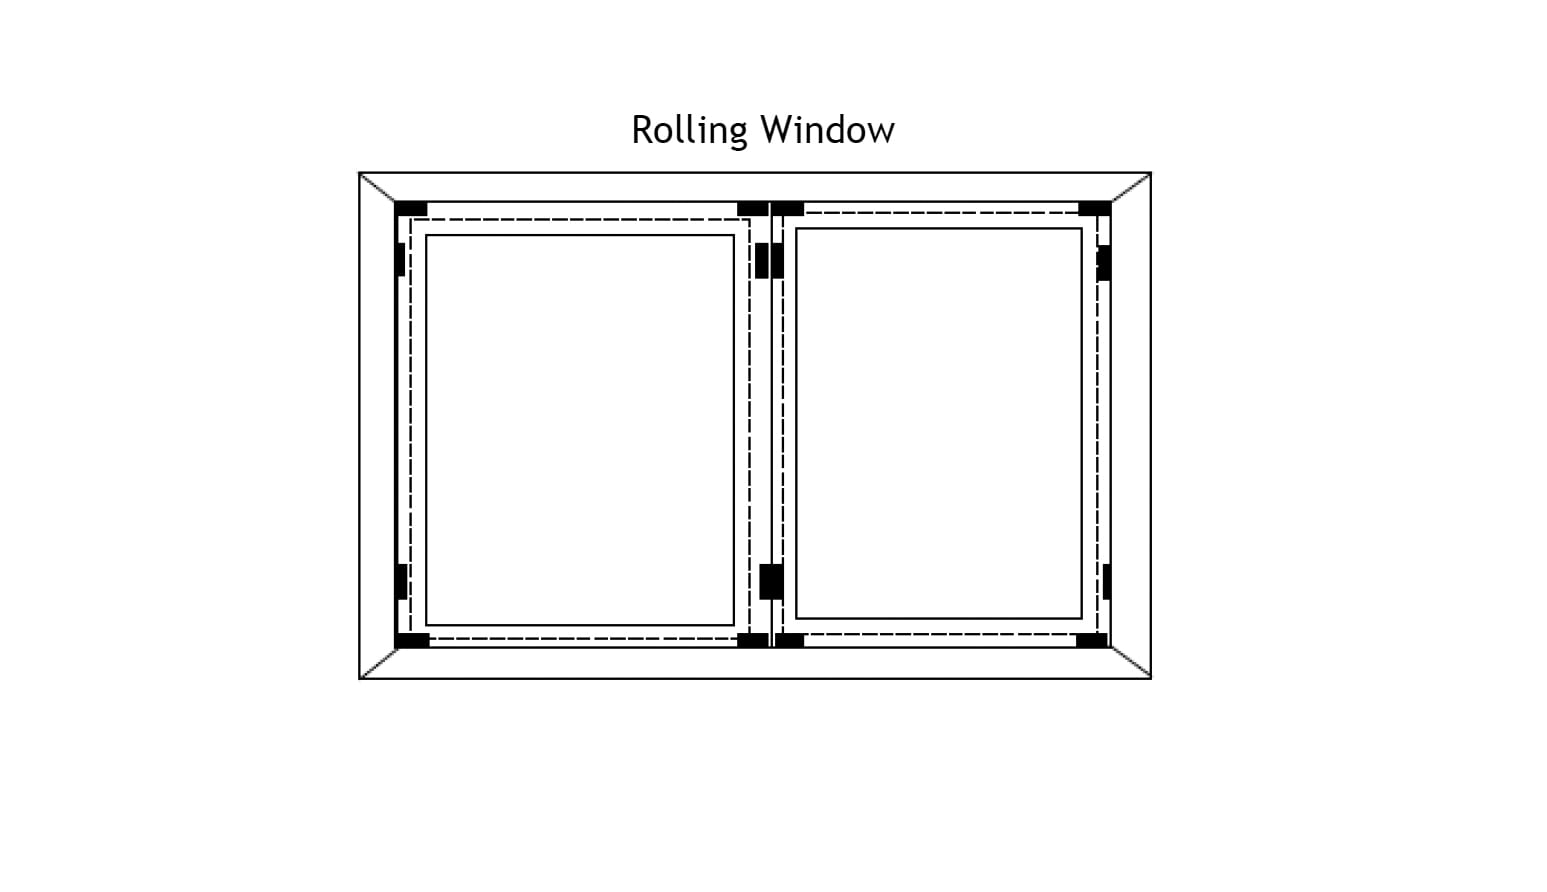
Replace or reposition glazing blocks. (Refer to Drawing 2)
Set glass into place using slight pressure to adhere the glass to silicone or glazing tape.
Once glass is set into place, take glazing beads and position them as they were prior to removal.
Position each bead by sliding the extended leg of the glazing bead into the receptor area of the sash. Follow this order: install the glazing bead on the bottom, then the top and then the sides. (Refer to Drawing 1 for positioning)
With a small wooden mallet, gently tap the top of the bead until the smaller back leg snaps into the sash. Repeat on all four sides.